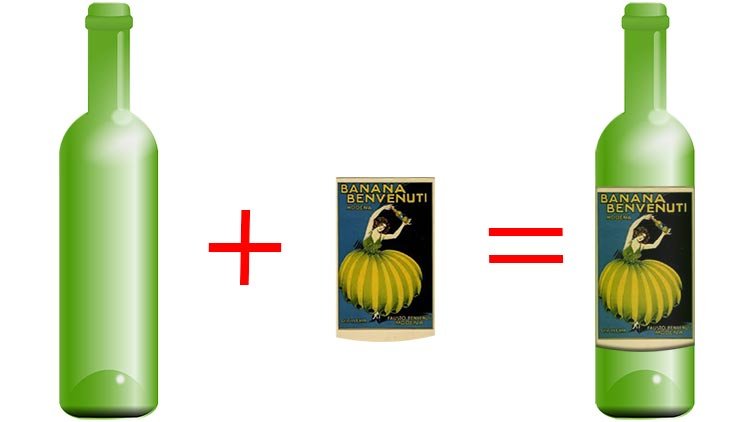
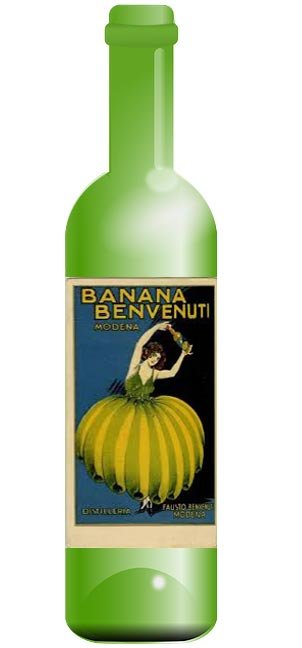
We can wrap label on a bottle with 3D software like Adobe Photoshop since it allows finishing the project perfectly. In graphic language it’s called “wrap label”. You can do it easily if you know the steps properly. See the below image with the label that has been wrapped with Photoshop.
FREE TRIAL
Don’t be afraid! You are going to do it yourself shortly. While learning the tutorial you will get a better idea on the following Photoshop terms:
- Gradients
- Cylinder
- Layers
- Filters
- Transforming
- Layer Blending Modes
- Let’s open the Photoshop and create a new file (7 x 5 inch). Color mood should be RGB with 200 DPI (resolution). Now save the file with any name that can be “wrap label”.
- Now open the bottle and sticker. See below images to understand how these two files should be. Now the assignment is to put the label on the blank bottle.
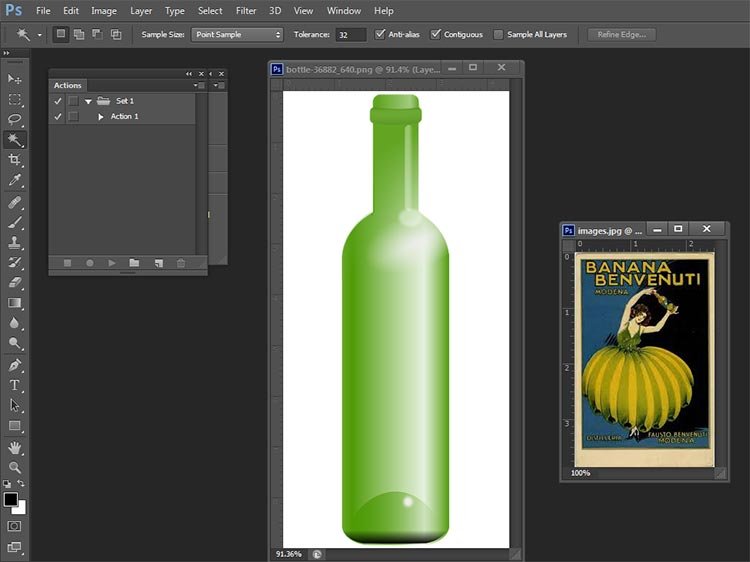
- Copy the label image and pest it on the bottle image. It will create a new a layer automatically. Put the layer above the bottle layer.
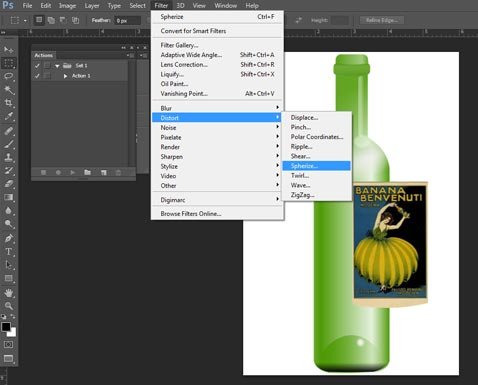
- Stay on the label layer and go to filter menu. Now, select Distort → Spherize. See the below screenshot:
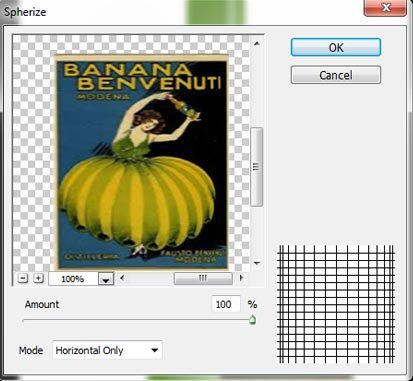
- It will bring a new command page like the below one. Put the value according to the below screenshot.
- Now decrease the opacity of the image layer so that you can view the image from the lower image layer.
- Drag the image on the bottle by clicking the mouse.
- Then, click Ctrl/Command + T on your keyboard and select “Free Transform” tool by right clicking on your mouse.
- Now, adjust the label on the bottle according to your desired proportion. See the below image:
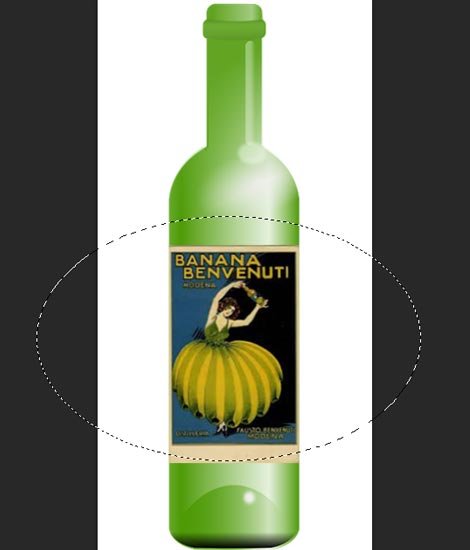
- If you want to make the bottom of the label round you can do it easily with “Elliptical Marquee Tool” like the given screenshot. Now, click Ctrl/Command + Shift + I to inverse the selection and press Delete button from your keyboard to delete the unnecessary part of the label.
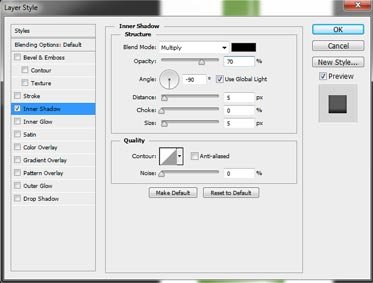
- Now, once again decrease the layer opacity to 60% as previous and go to “Layer Style → Inner Glow” that will bring the below popup menu. Put the value on the field according to the given screenshot.
- Finally, compare the image with our sample image. If both the images look identical you have done it perfectly.
This project can help you doing your little project by yourself. However if you need any further editing like background changing you have to create clipping path around the bottle image. You can do it easily with Photoshop pen tool. Just take a path layer, select pen tool and start drawing. Once you are done with the clipping path you can cut out the bottle from the existing background be selecting path and pressing Ctrl/Command + J. While doing clipping path or deep etching remember to make it as much accurate as possible otherwise if you place the image on a different background the bottle will bleed the previous background. If you need any kind of assistance for “wrap label” or “clipping path service”, just contact out customer support team at any time. Hope we will make your image editing project as much convenient as possible.