Suppose you are going to use any image on your website for professional purposes like selling products or providing service. In that case, you must ensure proper website image optimization to get the best output. It will ensure the high performance of your image on the web and increase your sales by attracting customers. You can easily optimize your images by yourself by taking care of some important issues. Here, I will focus on five important tips for website image optimization.
Photo Clipping for Background Removal:
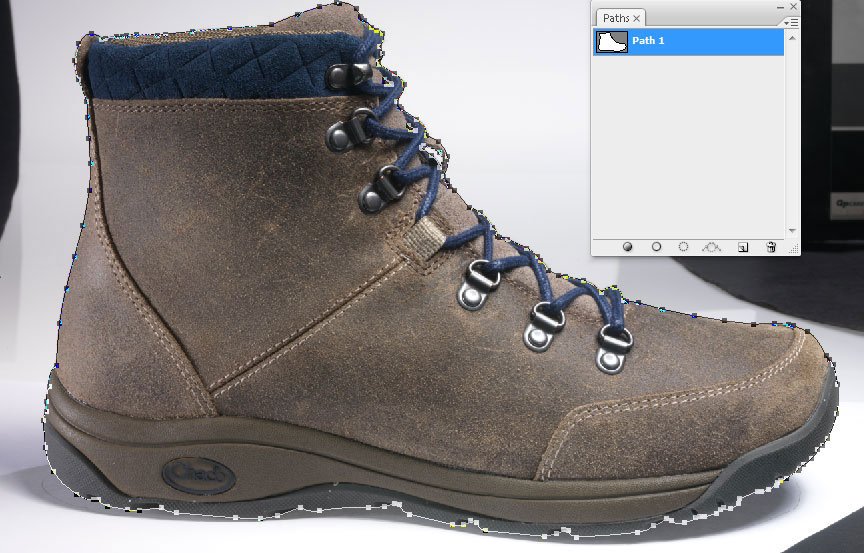
Clipping Path can be your first step to website image optimization. Just open the image in Photoshop and start creating a clipping path around the object with the help of the Photoshop pen tool. The quality of image clipping should be perfect for ensuring the best output. Create deep etching with 300-400 pixels zoom to get the best quality of the selection. You have to zoom in and zoom out while clipping the photo frequently. Photo clipping will let you cut out the image from the original background and apply any other background.
Apply Professional Background:
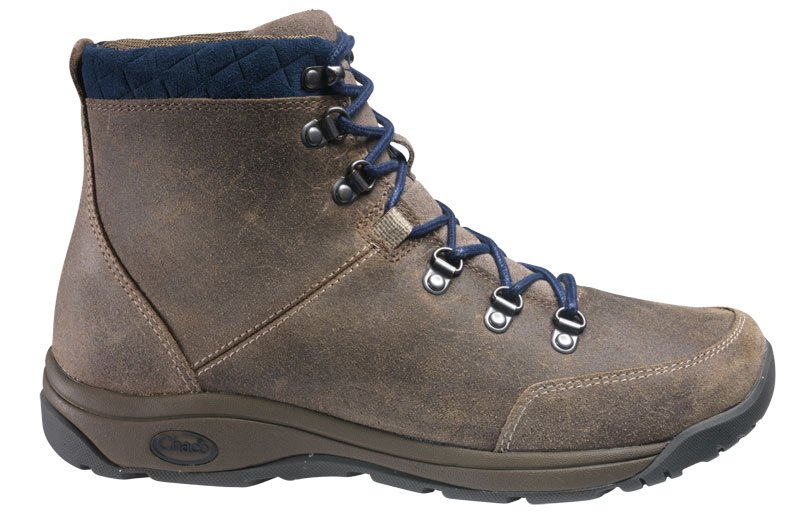
Once you are done with clipping the photo, you have to cut out the image from the existing background. You can do it by selecting the clipping path and pressing Command/Ctrl + j. It will cut out the photo on a transparent layer. While cutting out the photo, you should apply 0.3 pixels to 0.5 pixels of feathers to get a smooth cut out. Then take a new layer below the product layer and apply any background as you wish. We highly recommend pure white background for professional use.Re-size or Crop According to Your Need:
The next step is to cropping, re-sizing, and straightening. It will ensure the best fitting of your image on the website. Get an idea of your requirement from your web frame. If the frame dimension is 750 x 350 pixels, you must prepare the image accordingly. Firstly, straighten the image to the right angle and do close cropping around the edge. Then adjust the proportion. If you need the image to be 750 pixels in width and 350 pixels in height, make it 670 pixels by 270 pixels and then extend the canvas to 750 pixels by 350 pixels. It will create 40 pixels of padding around the image. Remember, padding is an important issue for professional image optimization. The padding should be smooth and consistent. If you keep 40 or 50 pixels of padding on your image, make sure to do it on all the images you will use side by side on a website.
Apply Drop Shadow or Mirror Effect to Enhance Visual Effect:
You have already done the basic requirement of website image optimization. Now, you have to concentrate on the appealing aspect of the image. You can easily enhance this aspect by adding a natural shadow or mirror effect. Both techniques are very simple. In order to create a drop shadow, you have to think of the light source of the image. Now, determine the shadow’s shape according to the image’s light source with your imagination’s help. The better you can imagine, the better you will be able to shape the shadow. Here, you have to create the shape with the help of photo clipping. Once the shape is made, select the clipping path, apply the necessary feather, and apply pure black color to create the shadow effect. Then, apply the required blur on the shadow and give the necessary finishing with the help of the eraser tool.
Mirror effect can be another image treatment that can enhance your image easily. You have to cut out the bottom of the product and inverse it below the object. Then, scale the bottom of both images and apply the necessary gradient to create the mirror effect. Remember, the scaling part is very important since the quality of the reflection completely depends on this step. You can add a bit of black color to the product’s bottom line, and it’s a reflection to make it more natural.
Save for Web and Device:
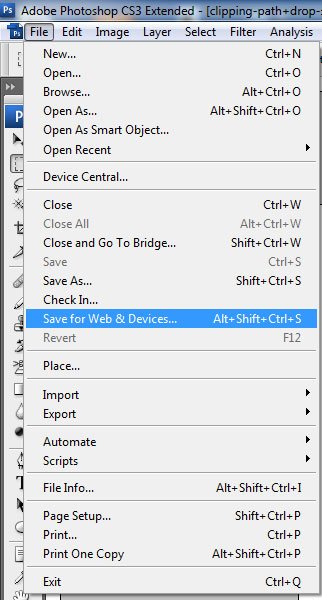
Finally, you have to save the image for the web. You may choose any format as per your requirement. If you need a white background, a jpeg is the best option, and in the case of transparent background, you have to go for a png. While saving for web and devices, it won’t vary the image size much whether you are selecting jpg or png. Of course, this is an important step. It will compress your image as much as possible to suit it the best on your website. I hope you know the disadvantage of the large file used on the web.
Website image optimization includes everything you need to prepare an image for final use. The tips we have discussed above are very common image treatment techniques we need to apply for website image optimization. In some cases, you may also need to apply some other image enhancement treatments, like photo retouching and advanced color correction. I hope you will be able to specify the necessary image editing treatment you need to ensure the best performance of your image on the website.