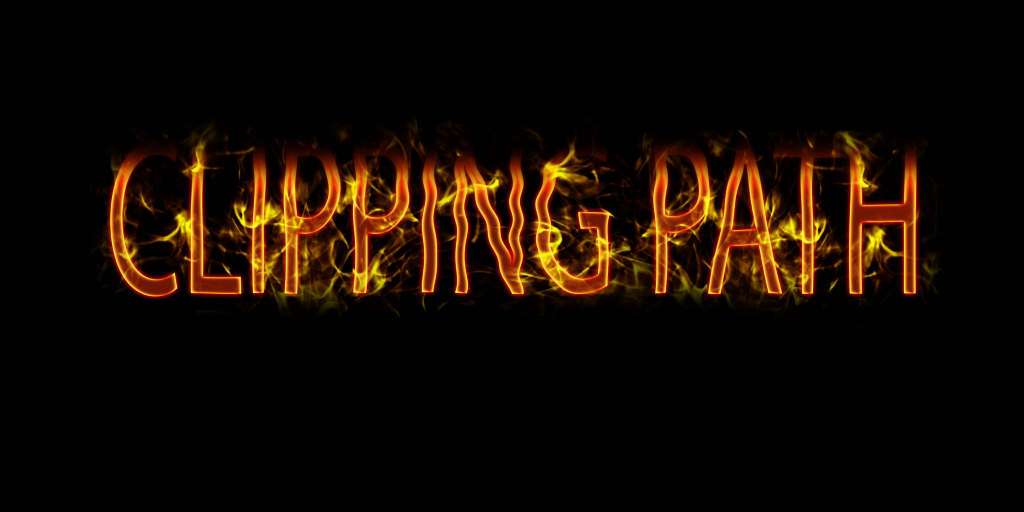
Cool flaming text is needed for different graphic work. The most common use of fire text is for creating creative banner or poster. We also use it frequently in motion graphic. Today, we will show you the steps of creating an awesome flaming text in details. You can use the tutorial for your personal or professional purse. In addition, if anything seems conflicting don’t forget to contact the experts of Clipping Mask Asia. Let’s start with the best of your luck!
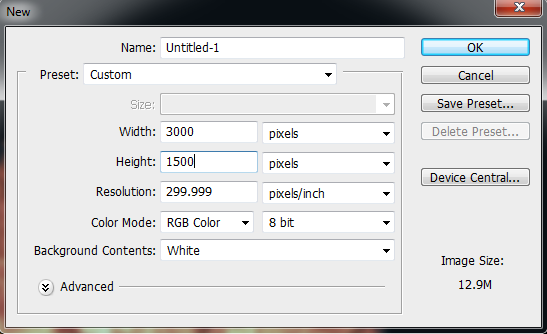
The first step is to run the Photoshop program on your computer and to create a new document by pressing Command/Ctrl + N. It will open a new pop-up menu for creating new canvas on which we are going to create flaming fire text. Adjust the ratio according to the given screenshot. The width should be 3000px and height should be 1500px as shown below.
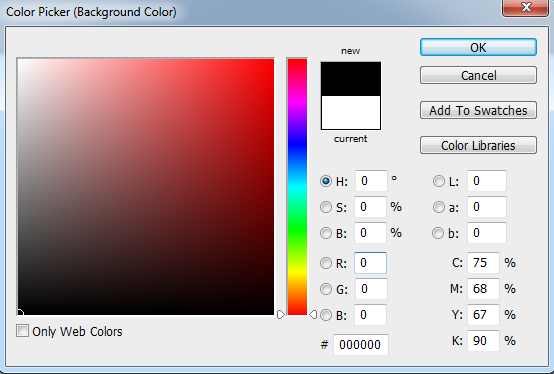
Then, you have to apply pure black color on the canvas we have created already. You can do it by adjusting background color with the help of color picker tool. The pure black color code is #000000. We are taking black background to make the fire text flame perfectly.
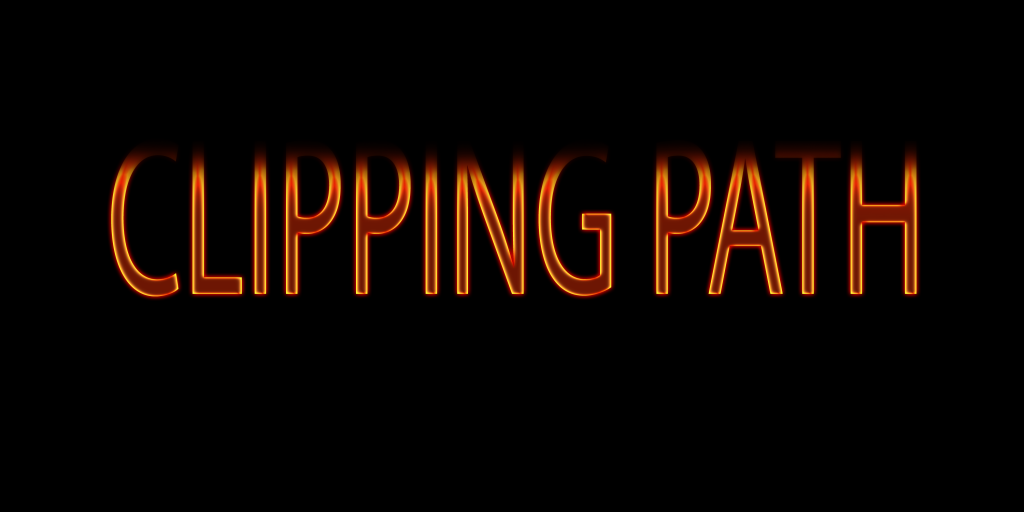
The next step is to create a new layer on the background layer in which we are going to type the text. Select text color before typing the text. It should be pure white (#fffdfd) as shown is the following image. Here, I am typing “CLIPPING PATH” which will be turn into the fire text.

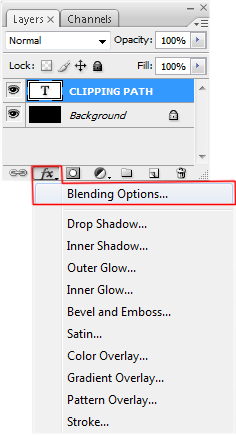
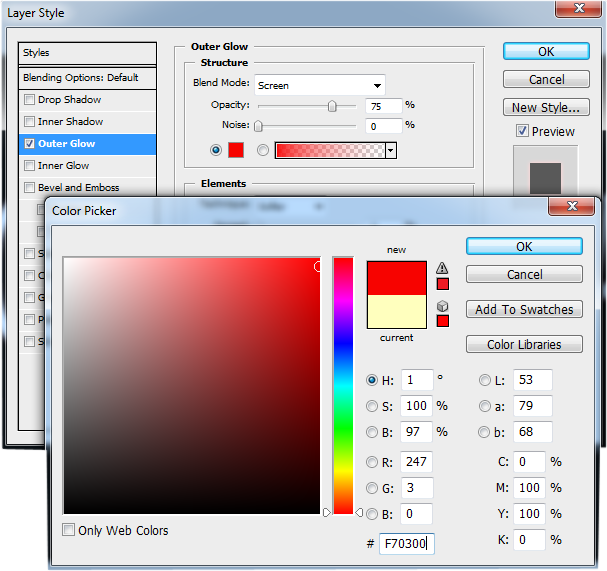
Then, go to blending option (see the below screenshot). Select outer glow and go to ‘Outer Glow’. Remember, the steps we are going to show are very important. If you miss any of the following steps the text won’t be that much sparkling. So, be careful in every step to have a cool flaming text image.
Adjust the color of ‘set outer glow’ with color picker as well. The color code in this case is #F70300 like the screenshot below and put 16px in the value box of ‘element size’.
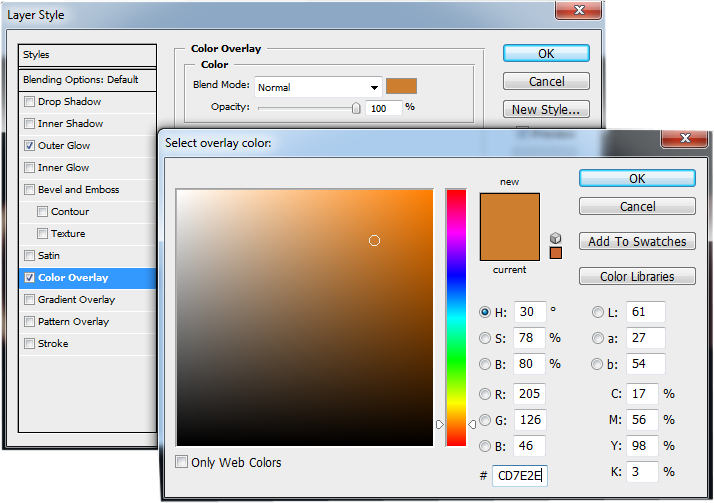
Now, go to ‘Color Overlay’ and adjust ‘Set overlay of color’ according to the below screenshot. The color value should be #CD7E2E. Please check the text “CLIPPING PATH” each time you make a new adjustment to see the difference and progress.
Next, got to ‘Satin’ from the blending option and adjust ‘Set color of effect’. Put the color code #872D0F into color adjustment box like previous. Make the opacity 100%, distance value should be 10px and size 15px.
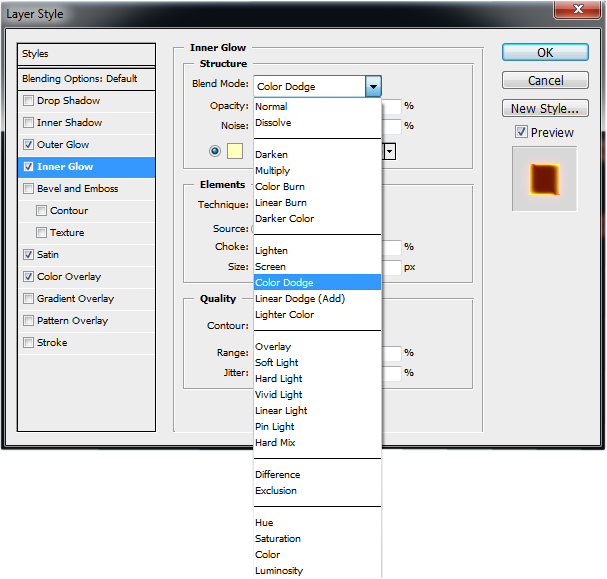
Now, you have to adjust ‘Inner Glow’. From the dropdown menu of ‘Blend Mode’ select ‘Color Dodge’. Please see the following screenshot for the instruction. Adjust ‘Set color of glow’ as previous and put color code # E5C238 in the color adjustment box of the color picker. Then, make the opacity 100% and size 10px.
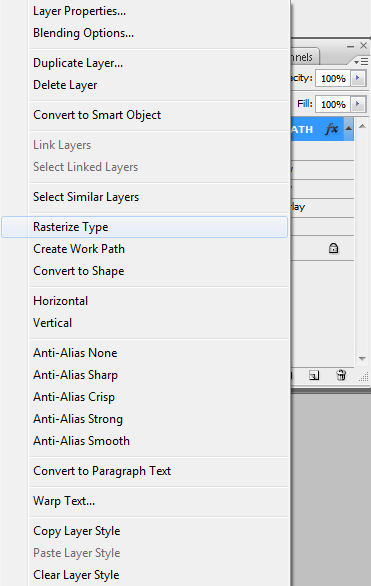
The next step is to click the right button on the main text layer on which you have worked so far that will show a pop-up menu box; select ‘Rasterize Type’. See the screenshot below for more clarification. It will enable you to apply eraser tool on the text.
Now, you have to erase 15% of the text tip with eraser tool. Select eraser tool from the tool box. Adjust the eraser tool according to following credentials: opacity: 100, flow: 100, master dimension: 400px, hardness: 0%. The tool is ready and let’s erase around 15 percent of the text top like the below image.
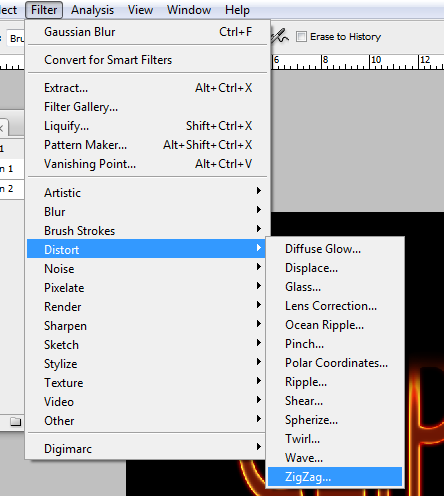
Now, got to filter→Distort→ZigZag (see the below screenshot). You have to put ‘Amount’ value 7, ‘Ridges’ value 7 and ‘Style’ should be ‘Pond ripples’. Do it very carefully since it will make the text formatting perfect for being burned.
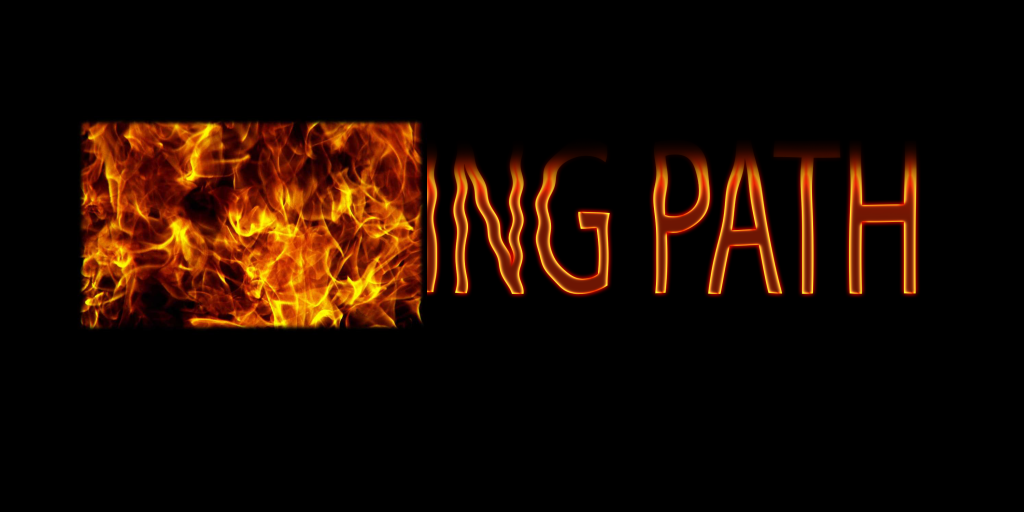
Let’s import a fire image on the text layer like the following screenshot. Go to channel and hold ‘Command’ or ‘Ctrl’ + click on ‘Green’ layer. It will make selection of fire area. Now, put 0.3px feather and cut out the selected fire on a new layer by holding ‘Command’ or ‘Ctrl’ and pressing ‘j’. It will cut out certain portion of the fire on a new layer. Delete the previous fire layer and keep the new fire layer.
Finally, you have to circulate the fire on the whole text by coping the fire layer. You can do it as many times as needed. Apply your sense perception and make the best out of it. Use transform and eraser tools to shape the fire so that bleeds properly on the text. I think you are done. Yes, the final image should be like the following one.