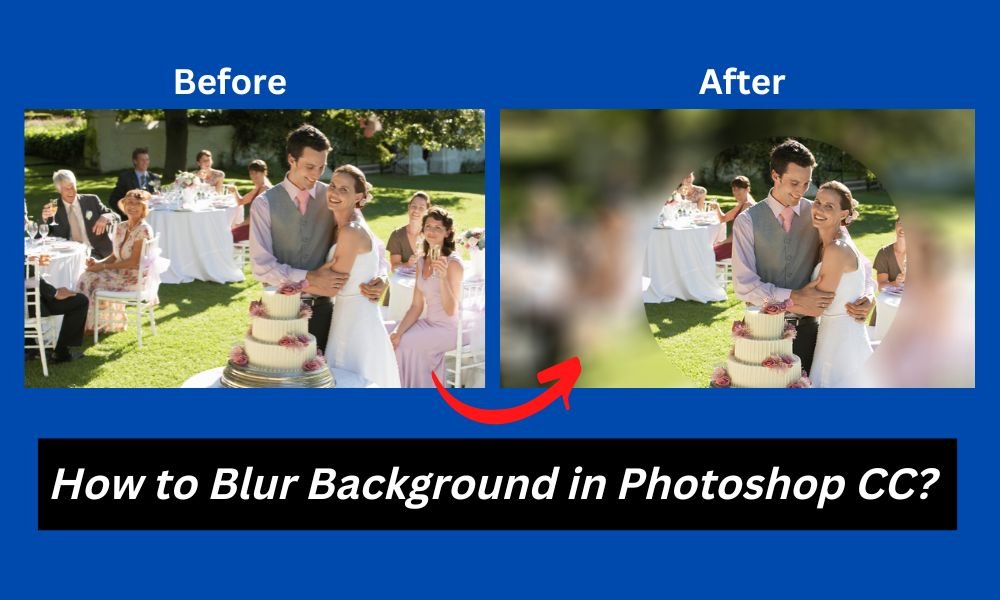
The most widely used photographic method to draw anyone's attention to a subject and make it stand out is to blur background in Photoshop. Even though I've seen it work well in all kinds of photography, this technique is used in portraits too.
Consider taking a stunning photo of the groom and bride at a marriage ceremony. Since you are so pleased with this photo, you can't wait to share it on your website and social media.
So when you eventually examine the photo on your PC, you are immediately distracted by something in the photograph's background.
As a wedding photographer, you know that some backgrounds can ruin great wedding photos, no matter how well you have framed or centered the shot. This problem frequently occurs when taking photographs in a crowded area.
But a little effort in Photoshop can restore your picture, whether it has a disturbing object or a lousy background overall.
This blog post shows you how to blur background in Photoshop. The mentioned steps will help you get your rejected photos onto the list of final products. Start reading now! Happy Learning!
How To Blur Background In Photoshop CC? [Easygoing 7-Step]
Start learning how to blur background in Photoshop CC using the blur tools of Adobe Photoshop.
This method will give you fast and reliable results without halos or ghosting. It won't hurt your photo in any way. You can come back and change the photographs at any time.
This will work on any picture with a background, even with people or things in the foreground. Using this method, you can eliminate disturbing backgrounds and put your specific topic before a plain background, making your subject stand out from the crowd.
With some hard-work, mindset and Adobe Photoshop, you can add different blur effects to any photo. In this article, we'll only cover one of the easiest techniques about how to blur a picture in Photoshop CC.
So, let’s have a quick look at the following steps:
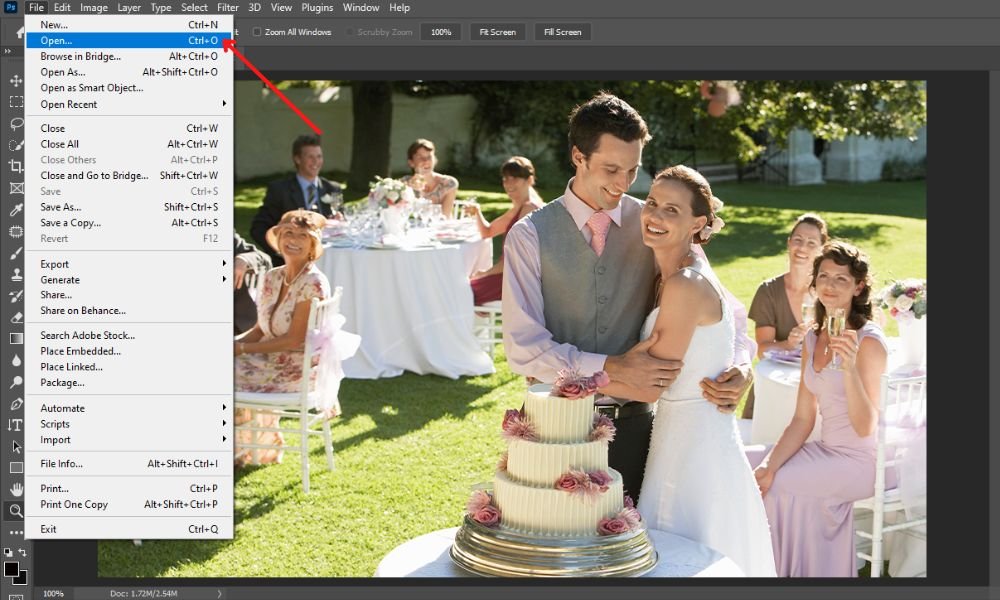
Step#1. Select Your Photo:
Firstly, open the latest version of Adobe Photoshop CC on your PC or laptop. On its menu bar, select the 'File' option.
Select the 'Open' option from the pull-down menu or press 'Ctrl+ O.' From your gallery, select a photo to modify.
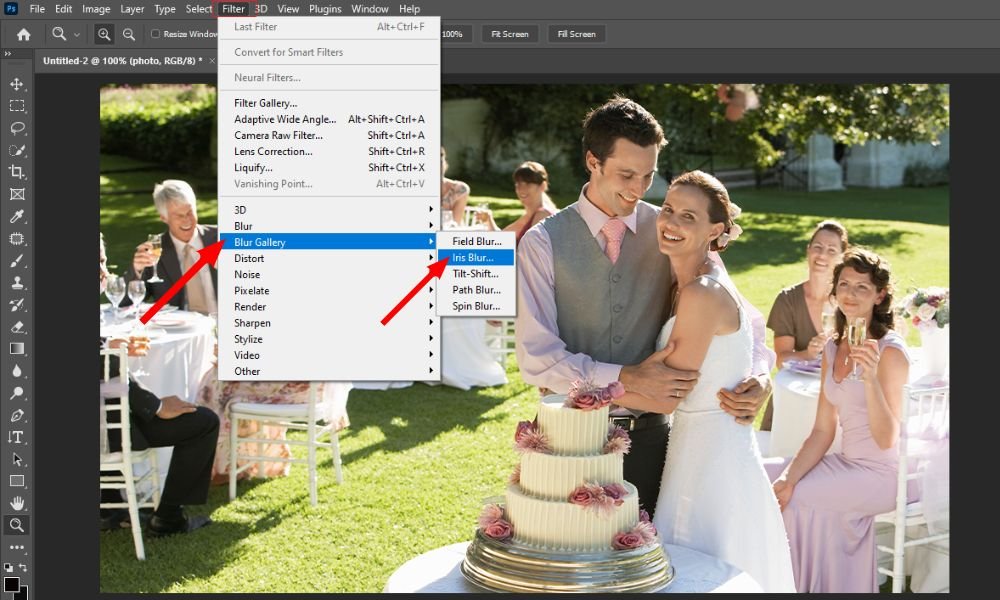
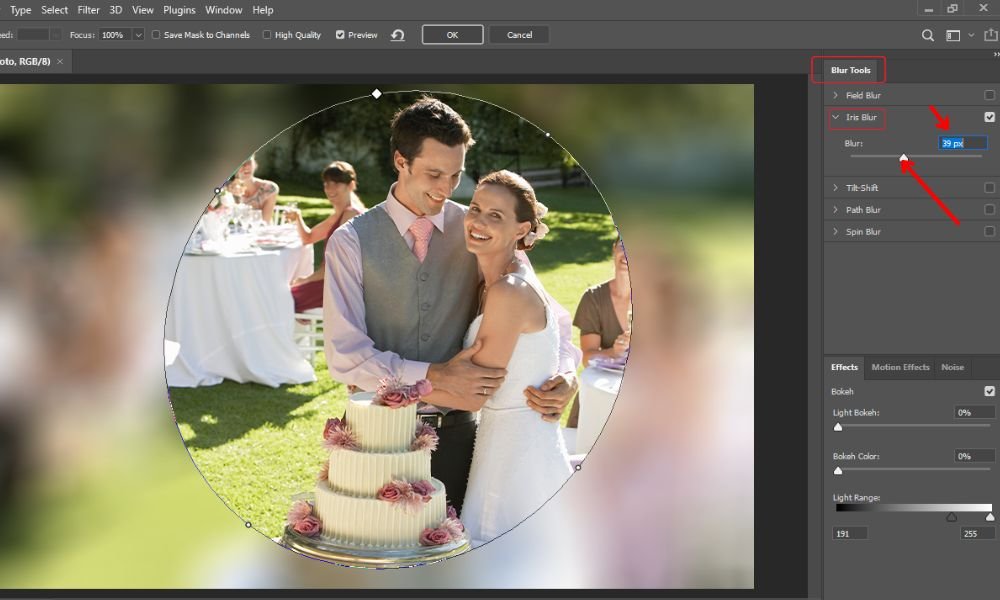
Step#2. Go To Blur Gallery Option:
After choosing a photograph, go to the menu bar and select the 'Filter' option. Click the 'Blur Gallery' option in the pull-down menu. After clicking on it, a preference for blur options will show up.
We recommend 'Iris Blur' to blur the background of your photo because this blur effect helps you identify a focal point while blurring the rest of the photo.
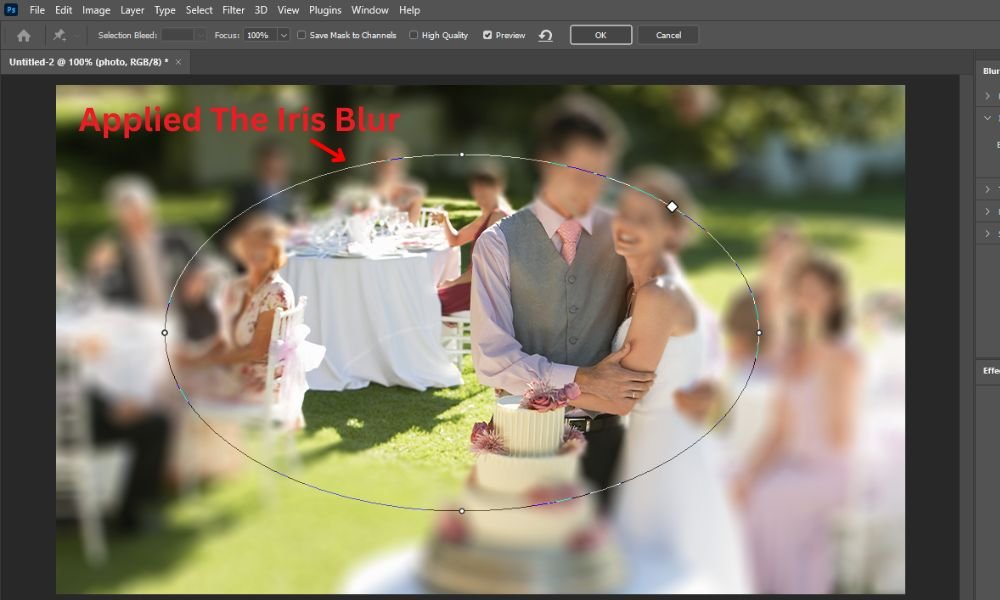
Step#3. Applying The Iris Blur:
When you select the 'Iris Blur' option, a wide 'Blur Ring' with a pin in the center will display on the photo. Plus, there will be several dots surrounding the ring.
The 'Blur Ring's Pin' serves as a focus. The picture can remain clear and sharp in the focus's center but will get blurrier as the distance from its center increases.
You can now drag the pin to your topic by clicking the center of it. To insert the pin, let go of the mouse.
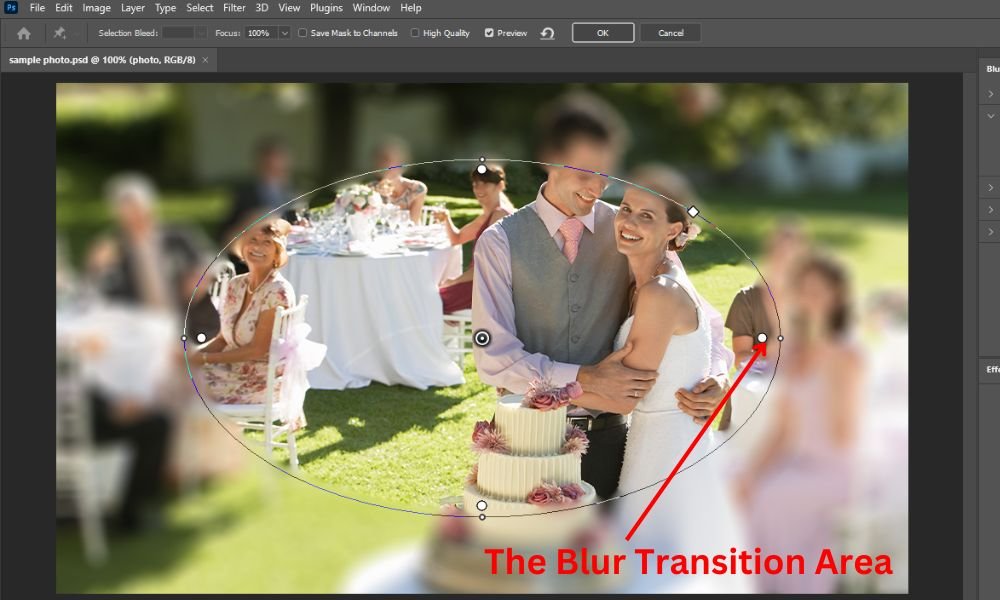
Step#4. Adjusting The Blur Transition:
There are mainly four bigger white dots within the 'Blur Ring.' These dots show where the blur begins and ends ( that means the blur transition area).
The blur transition gets smoother when you keep moving the dots closer to the center of focus. In contrast, the blur transition gets brighter when you start moving the dots away from the main focus.
Here, you can change the size of the blur transition area by clicking and dragging the white dots.
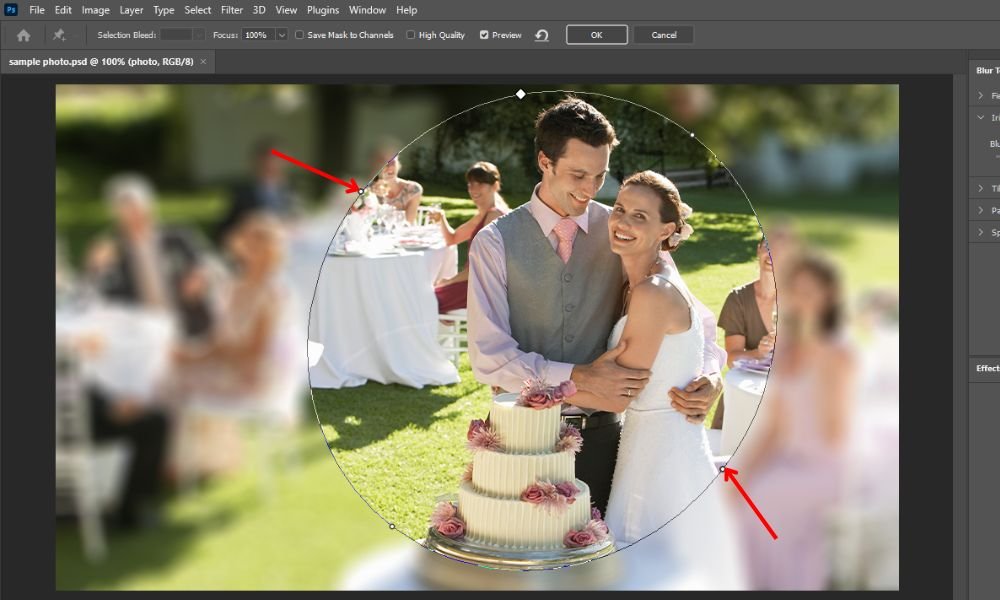
Step#5. Resizing Your Blur Area:
There are four separate dots along the edge of the 'Blur Preview.' When you keep moving your mouse pointer over one of these dots, your pointer will change into a curved arrow.
Now, move your mouse lightly clockwise to turn this arrow with two ends. It will make the blur area bigger. If you start moving the arrow in the opposite direction of the clock, the blur region will get smaller. It's also easy to do this by clicking & dragging the 'Blur Ring' line instead of the dots.
Step#6. Tuning The Blur Amount:
You can easily adjust the amount of blur with the 'Blur Knob.' The knob is around the Pin's center of the 'Blur Preview.' If you turn the blur knob clockwise, the blur will increase; if you turn it counterclockwise, the blur will decrease.
You can also take advantage of the blur slider' in the 'blur tools panel' on the right edge of your screen to modify the blur.
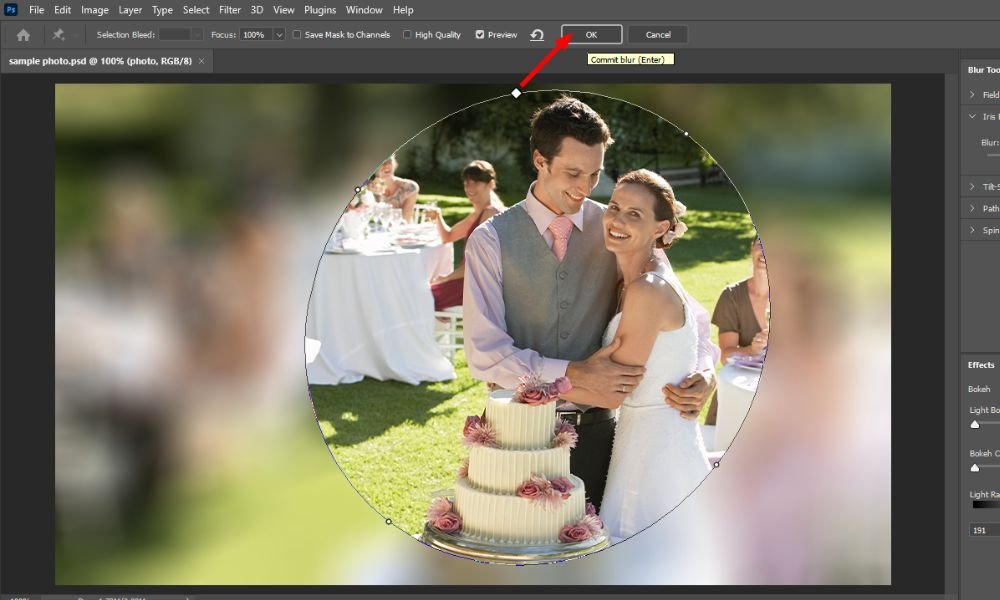
Step#7. Blurring The Background Of Your Photograph:
You can continue modifying the 'Iris Blur' by using the methods mentioned earlier. When you're done creating your desired blur background in Photoshop, navigate to the top of the 'Blur Gallery' option. Click the 'OK' push button, and all your editing tasks will automatically be saved.
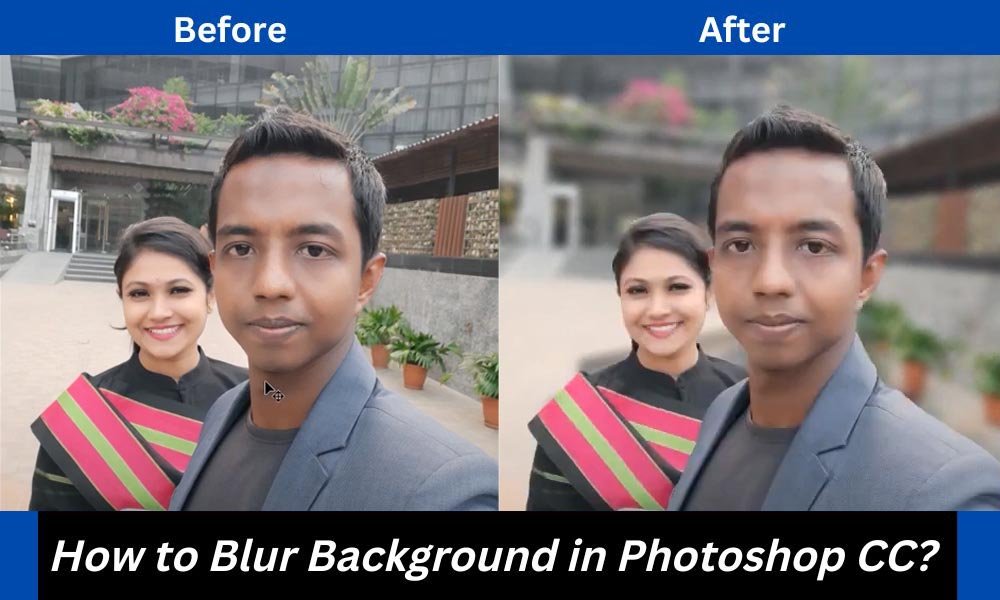
Here’s the final photo with a blur photo photoshop!!
Blur Whole Background Except the Subject [Video Tutorial]
Final Notes About How To Blur A Photo In Photoshop:
When you blur the backdrop of your photographs in Photoshop CC or provide an out-of-focus effect, you can efficiently improve your focus on your overall topic.
Knowing how to blur something in Photoshop is also a highly prized appearance that can be included in the skill set of any wedding photographer.
At CMA (Clipping Mask Asia), we love sharing proven tips with wedding photographers and others who are curious about learning amazing photoshop tricks.
We also help to grow wed photography e-businesses by providing top-notch photo editing services within your reasonable budgets. To explore more about our regular services, check out our latest pricing plans.
To read more, click on How To Make A Gradient in Photoshop? Good Luck!