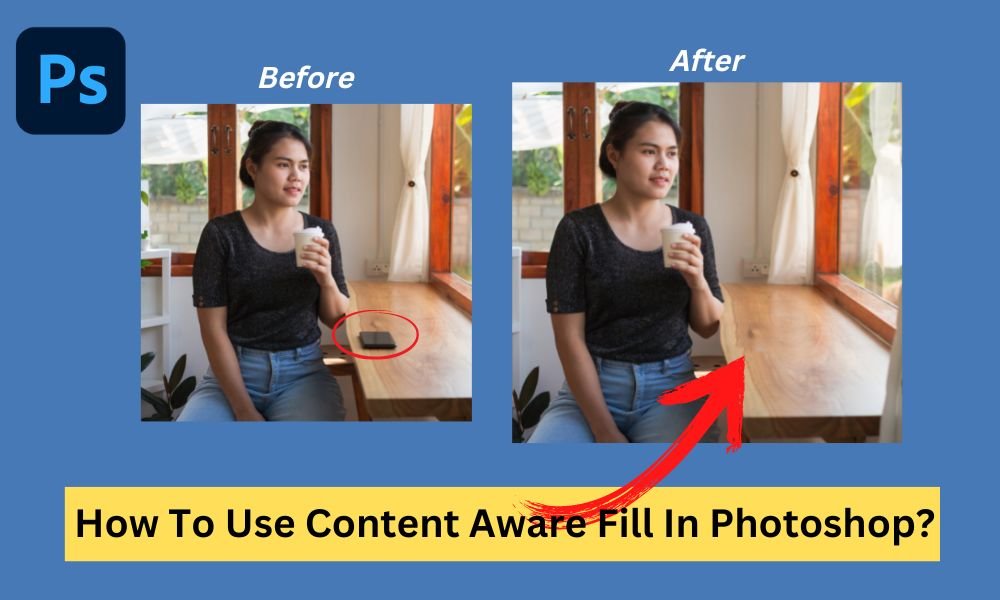
Photoshop content aware fill is a fantastic tool for post-processing images. There are several reasons behind its popularity. Sometimes it's frustrating to see a beautiful photo including things you don't want to be there.
Due to unwanted objects, you may tend to delete that portion of the picture. Hence, content-aware fill is a superb feature in Photoshop CC that makes it easy to fix this problem.
In this tutorial we’ll talk about what is Content-Aware Fill, how to use Photoshop content-aware fill appropriately, and some other aspects of the tool.
To know more, keep reading now!
What Is Content-Aware Fill?
The content-aware fill is a powerful Photoshop feature that lets you eliminate unwanted things distracting to the photo by drawing a selection around them.
We draw a selection around the unwanted object first. Next, Photoshop swaps the space you chose and adds new photo details from the areas around.
While doing the task Photoshop lasso tool, the spot healing brush or the patch tool can also be handy.
The Spot Healing Brush tool can perfectly remove spots and wrinkles from the image. On the other hand, the lasso tool is a great way to get rid of objects or elements in your photo.
When Should You Use the Tool?
After removing any object, a gap remains in the photo, and we use content aware fill tools to fill the void.
In this case, you should use the content-aware-fill Photoshop tool. It restores the missing pixels and matches them to their surroundings. Also, this tool helps you make a portrait look natural.
To quickly and easily fill in the gaps left by missing pixels, you can pick which pixel to apply to your image.
On the contrary, moving picture elements into other areas of the photograph is another reason to use this tool.
Therefore, content-aware fill is a perfect solution for carrying out this operation using Adobe Photoshop Software.
How to Use the Content-Aware Fill Tool in Photoshop?
Let's observe closely how Photoshop's content-aware tool functions now.
To see the magic of Adobe Photoshop, let's begin now!
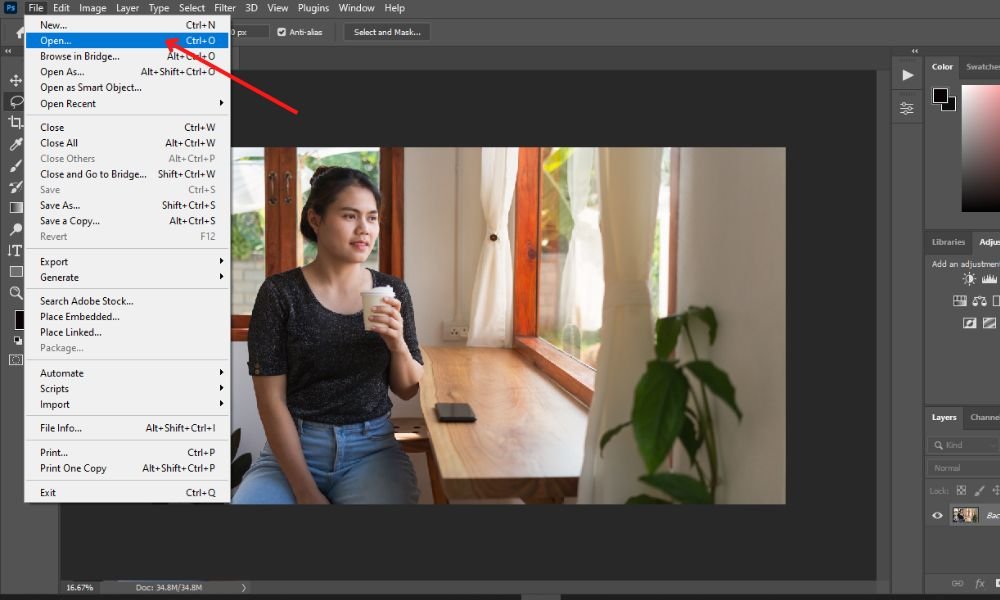
Step#1: Launch Photoshop CC And Open Your Photo.
Firstly, launch the latest version of Photoshop CC on your computer. Here, I'm using Adobe Photoshop CC 2023 for this tutorial. Now, go to the above toolbar. Click on the 'File' option. Then select the 'Open' button and open up the photo from which you want to eliminate any object in Photoshop CC.
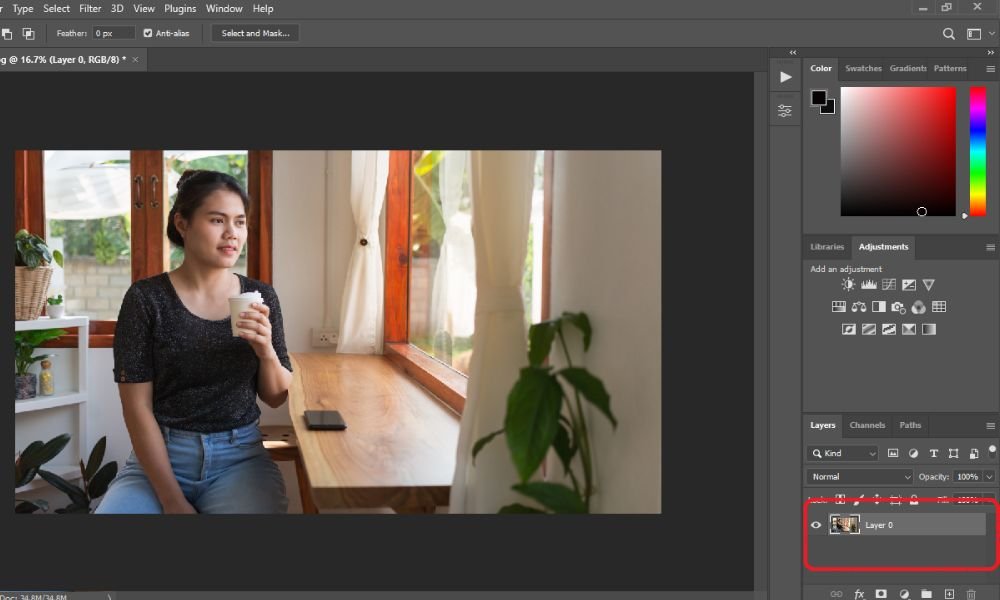
Step#2. Unlocking The Layer:
Next, go to the layer panels, which are located on Photoshop's right side. Then click on the background layer to unlock this (named 'Layer 0').
Step#3: Selecting the Lasso Tool:
Now, make a copy of the layer by right-clicking or pressing 'Ctrl+J.' Then go to the left-side toolbar of your Photoshop CC and choose the 'lasso tool' from there.

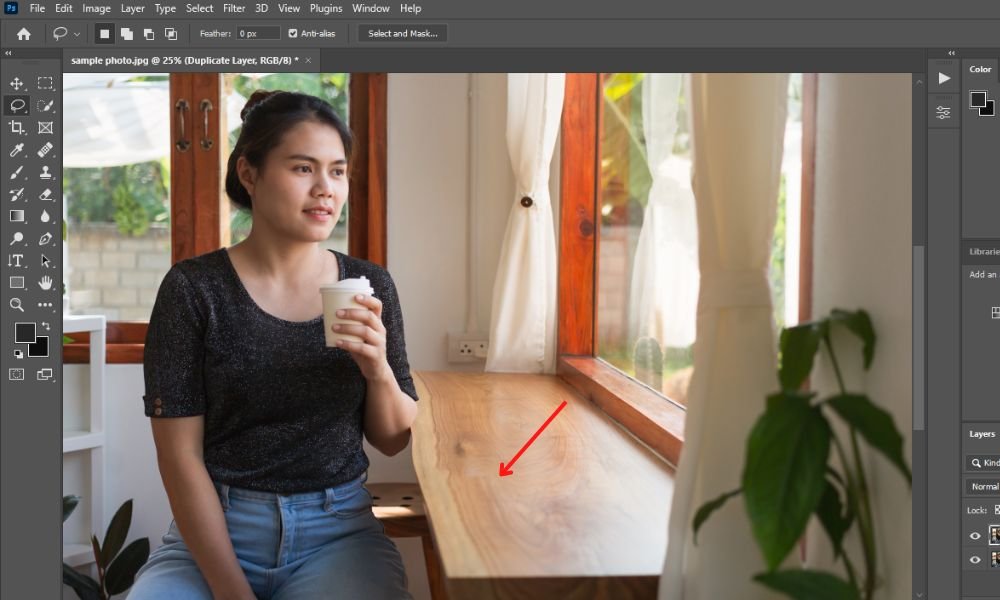
Step #4: Make A Loose Selection By Using The Lasso Tool.
At this stage, click and activate the duplicate layer. Next, make a loose selection around the elements or objects of the picture you want to remove. Once you've chosen, go to the 'Edit' tab and click 'Fill' from the drop-down menu.
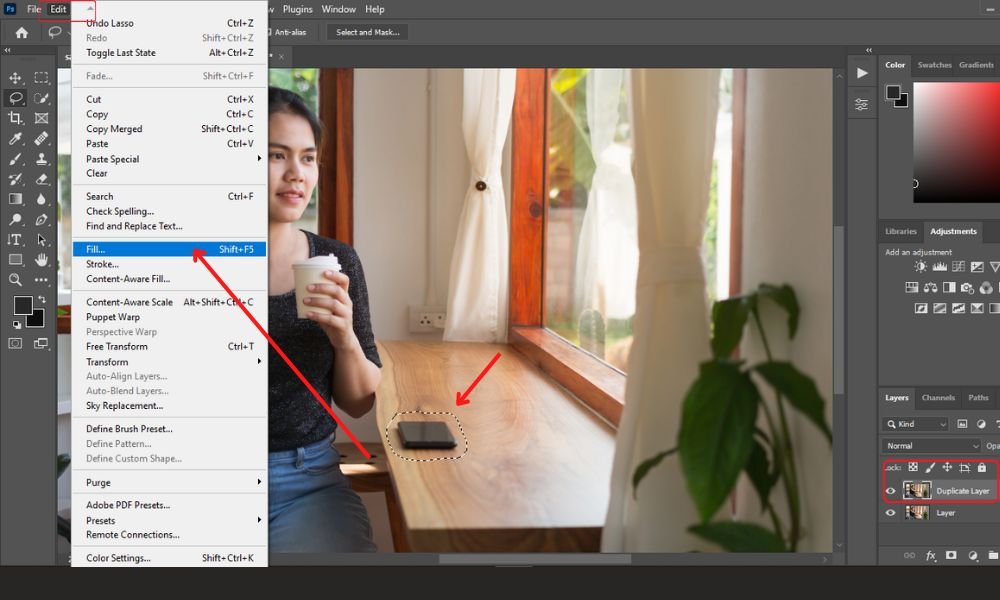
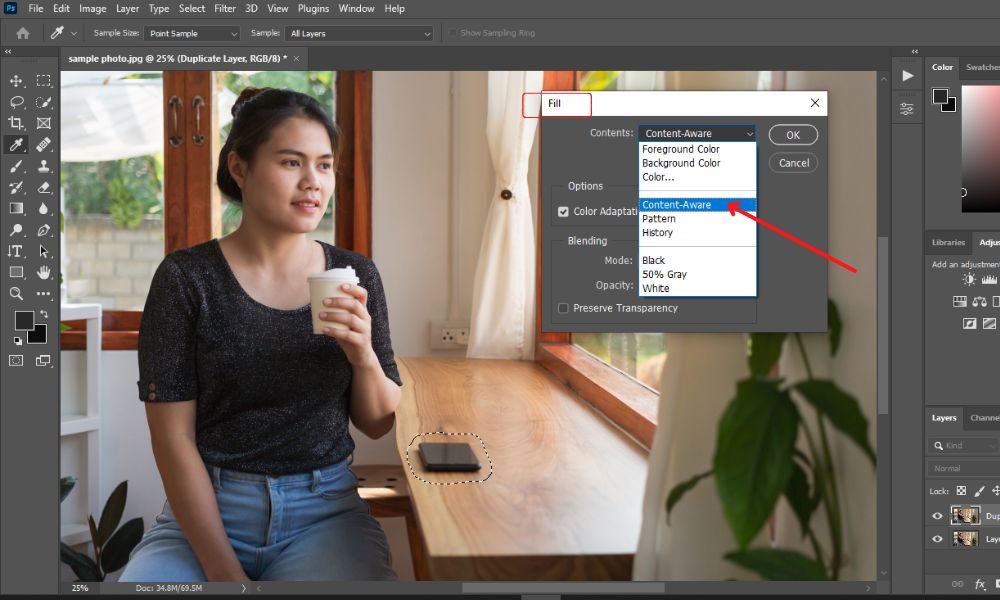
Step #5: Choose 'Content-Aware' From The Pull-Down Menu:
Then, a new dialogue box named 'FILL' will appear. Here, you have to choose 'Content-Aware' from the pull-down menu.
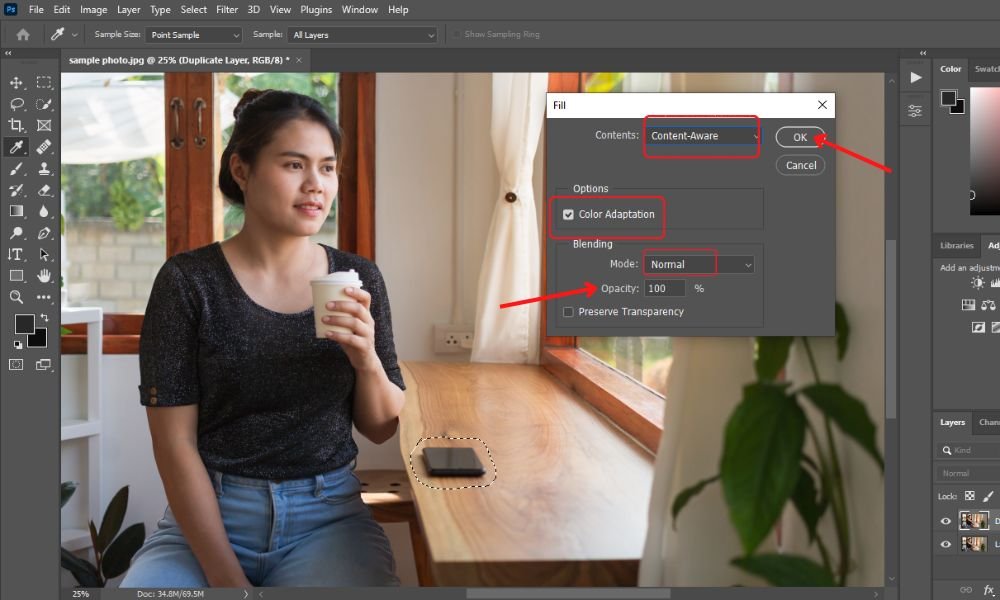
Check out the color adaptation. If it's already marked out, it's fine. Then select normal mode and scale opacity to 100%. If all looks fine, click the 'Ok' button.
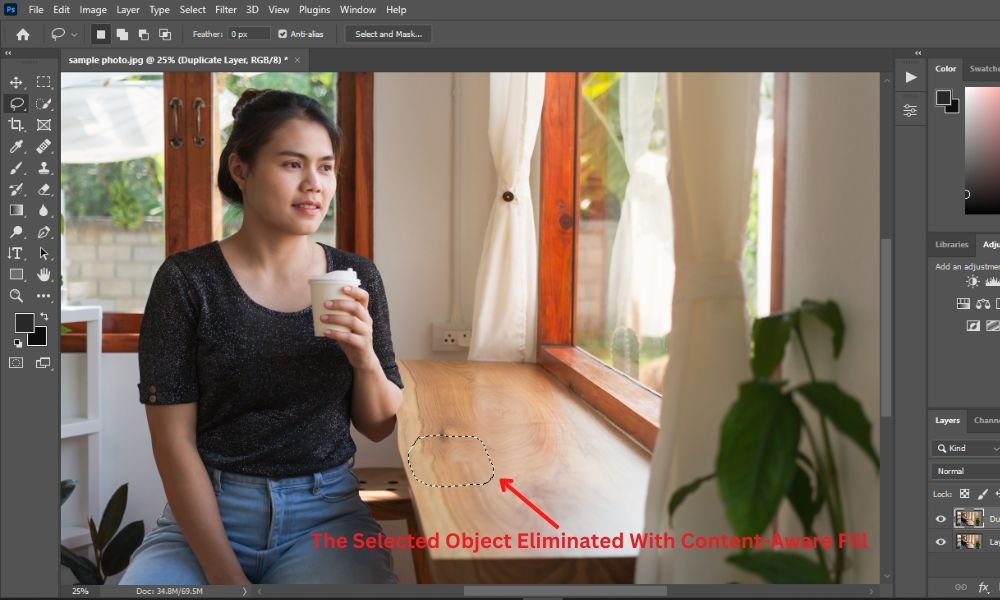
Step #6: The Object You Chose Disappears Completely:
After that, the content-aware fill feature will instantly remove the selected objects. In Photoshop CC, the item will be replaced, and the region will be filled in by selecting pixels from the areas around it.
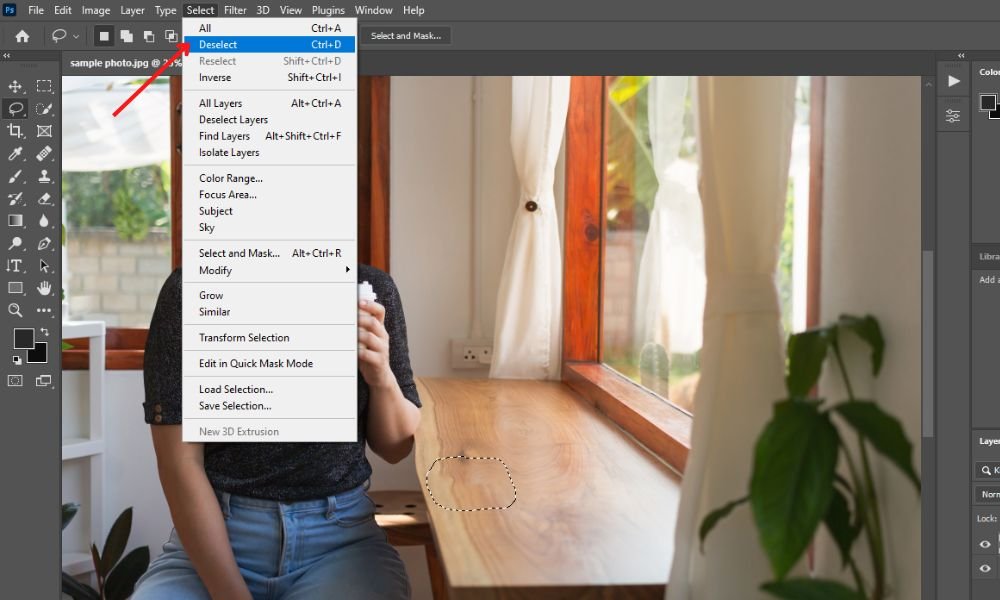
Now, go to the top of the menu bar. Press 'Ctrl + D' or click 'Select' and hit the 'Deselect' option from the drop-down menu.
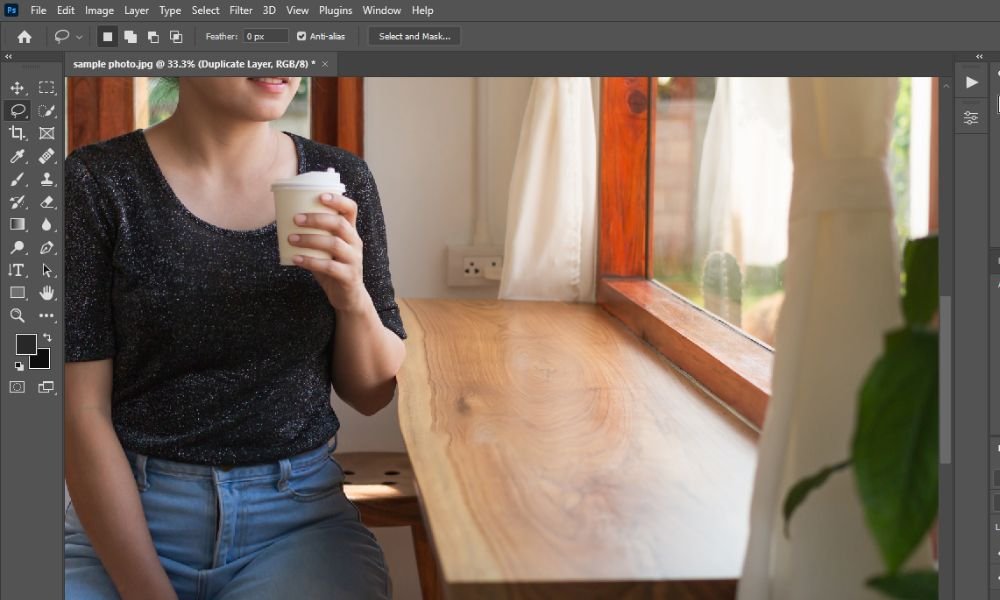
Step #7: Get The Final Output of Content Aware Fill Tutorial.
At long last, your photograph will display everything, excluding the object or item you chose to hide. Using the Content-Aware Fill tool in Photoshop CC, you can quickly and easily remove any element or object from a photo you don't want to show in your final picture.
Zoom in to see the final image. It looks amazing!
Final Words About Using the Tool:
In a nutshell, the Photoshop CC program has many beautiful options for removing things from photographs. There is no doubt about it. But moving an element or object to a different area of the picture might be challenging with most tools.
For this case, you should use the Content-Aware Fill tools to get the best output.
Even though Photoshop's Content-Aware feature has dramatically developed over the years, it still needs to be flawless. After moving or removing an element or object, there could be some extra cleanup work.
After reading this blog post, we hope you’ve learned how to use the content aware fill tool in Photoshop CC perfectly.
Do you have any questions? Please leave a comment below or contact us today.
Also Learn, How To Blur Background In Photoshop CC?
Happy learning!