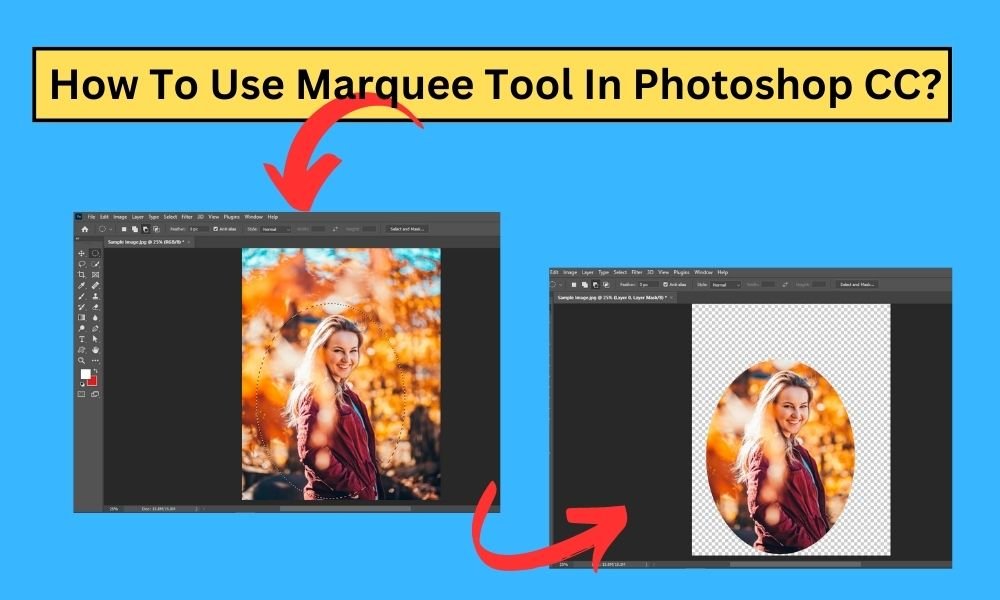
The Marquee tool is a handy tool option from Adobe Photoshop. If you don’t know how to use marquee tool in Photoshop CC yet, you should learn about this great feature now to edit pictures smoothly in Photoshop.
In the beginning, you may curious about what is the marquee tool in Photoshop. In basic, Marquee tool is the tool that allows you to choose any part of your picture in different shapes, like a rectangle (square), an elliptical (circle), a single column, or raw (a thin line).
This tutorial will show you how to use marquee tool in Photoshop with step-by-step guidelines and also describe the types of marquee tools in more detail. So, start reading till the end of this article.
How To Use Marquee Tool In Photoshop CC? [Step-By-Step Guidelines]
Now, we’re going to describe the basic steps about how to use marquee tool in photoshop CC. So, keep reading!
Step#1: Open your image file in Photoshop:
First of all, launch your Photoshop application. Then click on the “File” tab and select the “Open” option.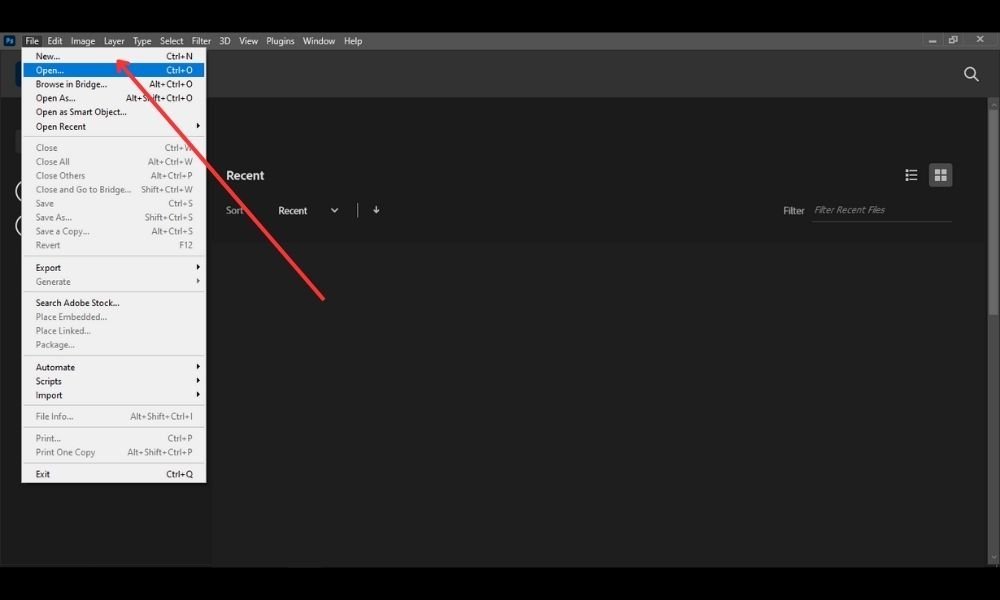
Now, choose your image file from your computer or laptop.
Step#2: Select the marquee tool in Photoshop
Choose the marquee tool from the toolbar menu. The tools panel is located on the left side of your Photoshop application. Please see the image below to understand better.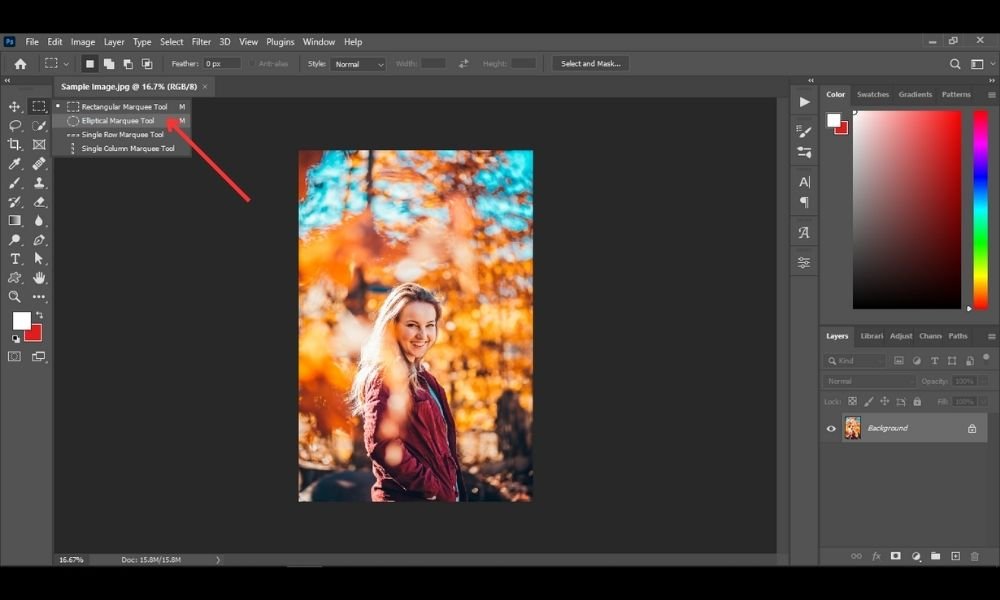
However, there are mainly four types of the Marque tool in Photoshop. You can view them by clicking on the left mouse button. In the Pop-up menu, you will find your desired tool and then pick out it. We will discuss each of the Marque tools in the end.
For this tutorial purpose, we’ve selected the “Elliptical Marquee Tool” by clicking on this tool or pressing the “shift + M.”
Step#3: Choose your desired Size & Shape of the Selected Marquee Tool
Pick out the part of the picture you want to crop to edit. Move the mouse pointer to where you want to start selecting. Click and hold the left mouse button, and drag the box to make it bigger or smaller. Click and keep holding the mouse. Then tap and let go of the “Shift” key – this is all you have to do to mark the part of the picture you want.
Press the “Shift” key if you want to select a circle or a square. Click and drag to make a thin line for other shapes.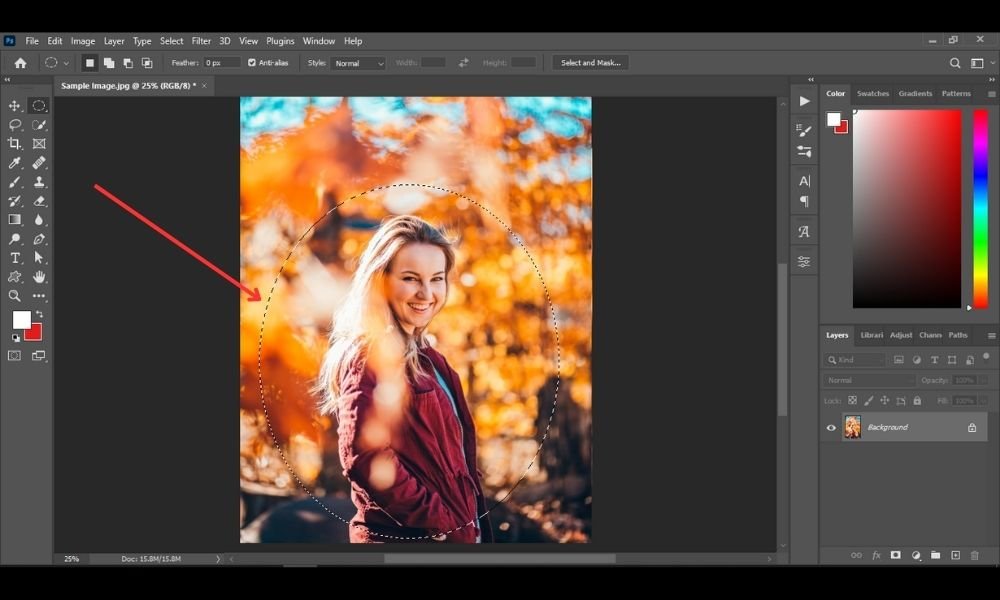
When you activate the Marquee tool, you will see some new options at the top of the Photoshop screen. They let you do many things to crop a picture in Photoshop or change what you have selected. The feather tool lets you decide how much of the area outside the line you draw will be fuzzy or blurred.
On the other hand, the anti-alias box helps you smooth out the edges of your selection if they are too rough. This is so useful if your picture is not very clear. The Style menu lets you choose how the shape changes when you use the rectangular or elliptical tool. You can either drag the mouse to make the shape bigger or smaller, or you can type in the size you want for the shape.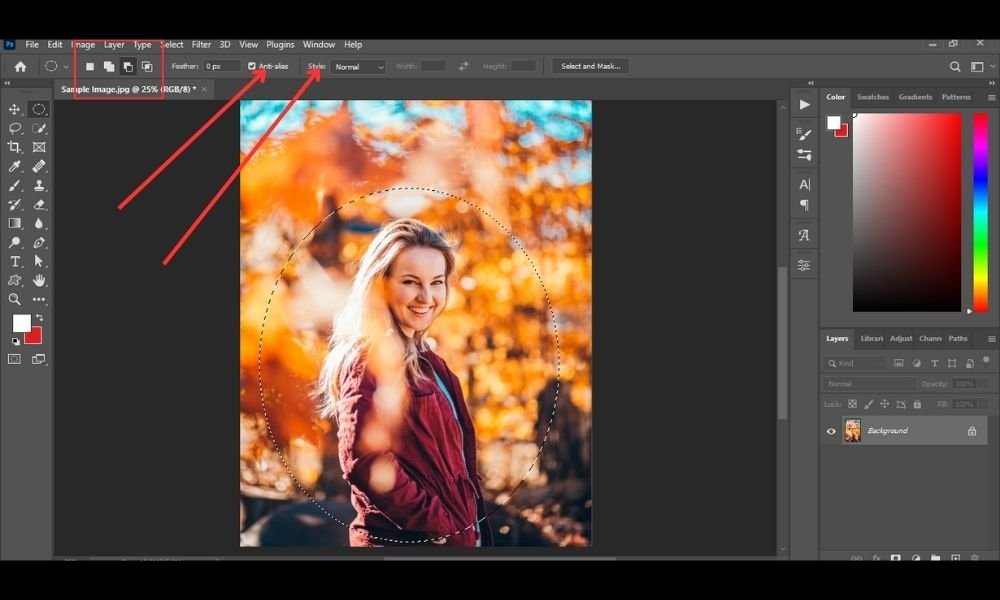
Step#5: Select the mask in the “Layers panel”
In this stage, to make a circle shape out of any image file, just select the mask in the Layers panel. This will keep the part you selected and hide the rest of the image. In this way, you can easily crop any portion of the image in a good round shape.

Also read: How To Remove Background In Paint?
Types Of Marquee Tool:
Here are the different Marquee Tools in Photoshop and what they do: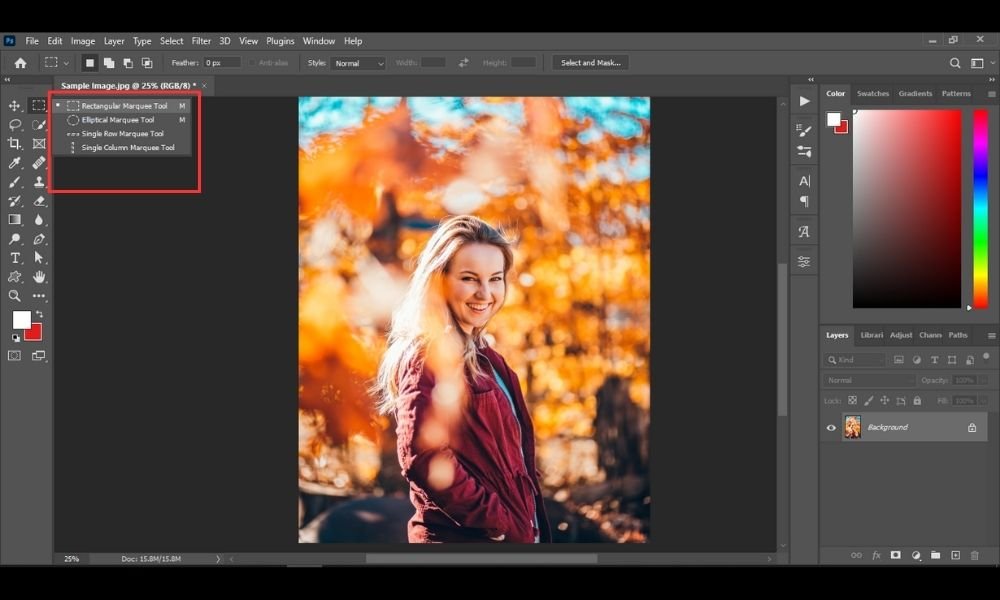
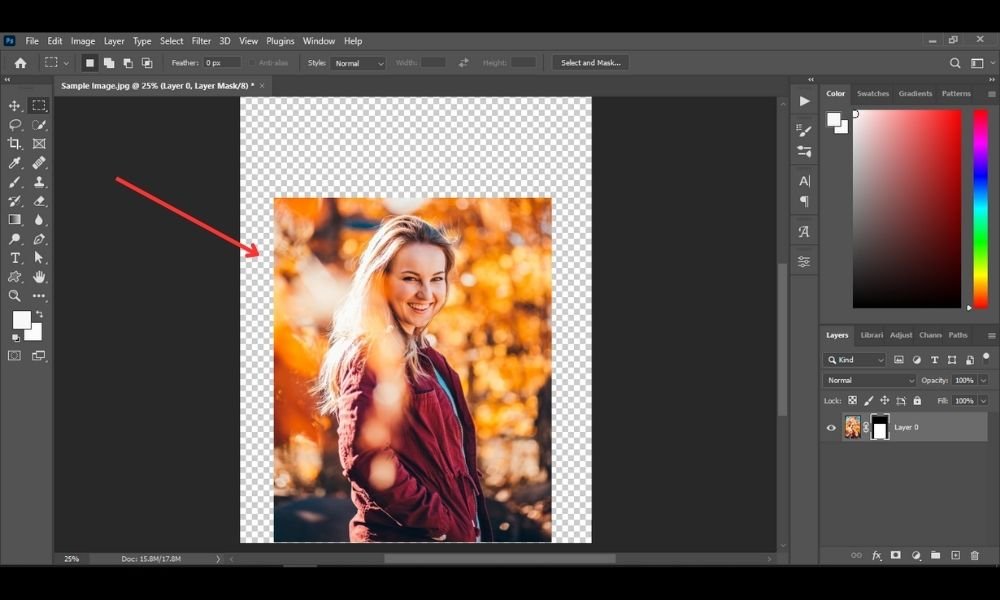
1#. Rectangular Marquee Tool:
The rectangular marquee tool in Photoshop is usually activated by default mode in your Photoshop interface. It lets you select a part of the picture that is shaped like a rectangle. You can see how it works in the below image. If you click and hold the alt key, you can make the rectangle start from the middle of where you click.
Now, if you want to crop the image with a rectangular shape, simply choose the mask in the Layers panel.
You will see the outcome like as the below image.
2#. Elliptical Marquee Tool:
You can switch to this tool by pressing the “shift + M” keys. It allows you to select a part of the image that is shaped like an elliptical or circle. If you click and hold the “alt” key, you can make the elliptical shape starting from the middle of where you click.
Next, to crop the picture with an elliptical shape, just select the mask in the “Layers panel”. You will notice the result in the below picture.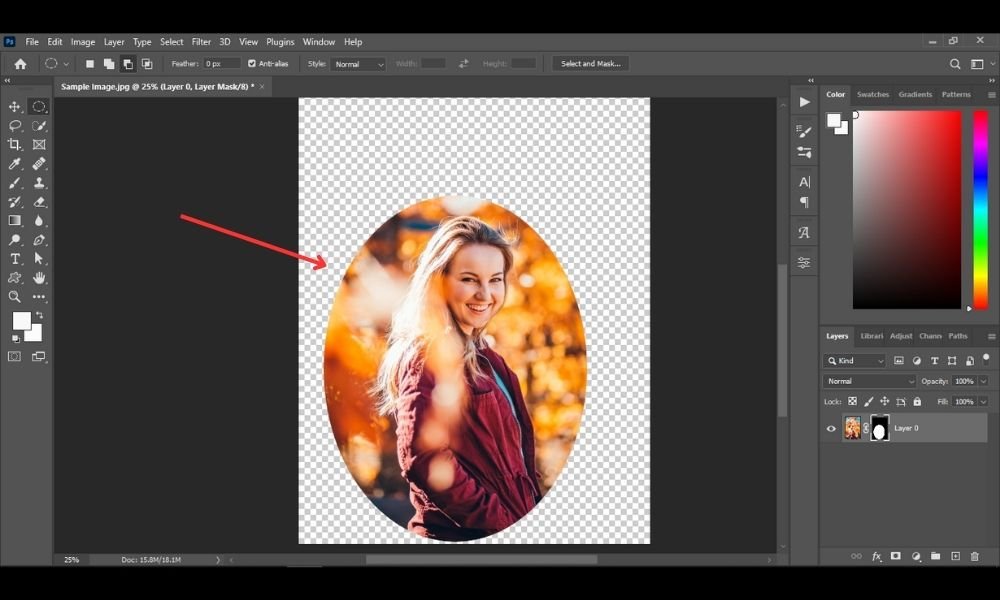
3#. Single Column Marquee Tool:
This tool lets you choose a very thin line that goes up and down. It is not very useful, but you can know about this tool. You can shift to this tool by pressing the “shift + M” keys.
4#. Single Row Marquee Tool:
The tool allows you to select a thin line that can go left and right. It’s not so useful, but you can learn about it. You can quickly switch to this tool by pressing the “shift + M” keys.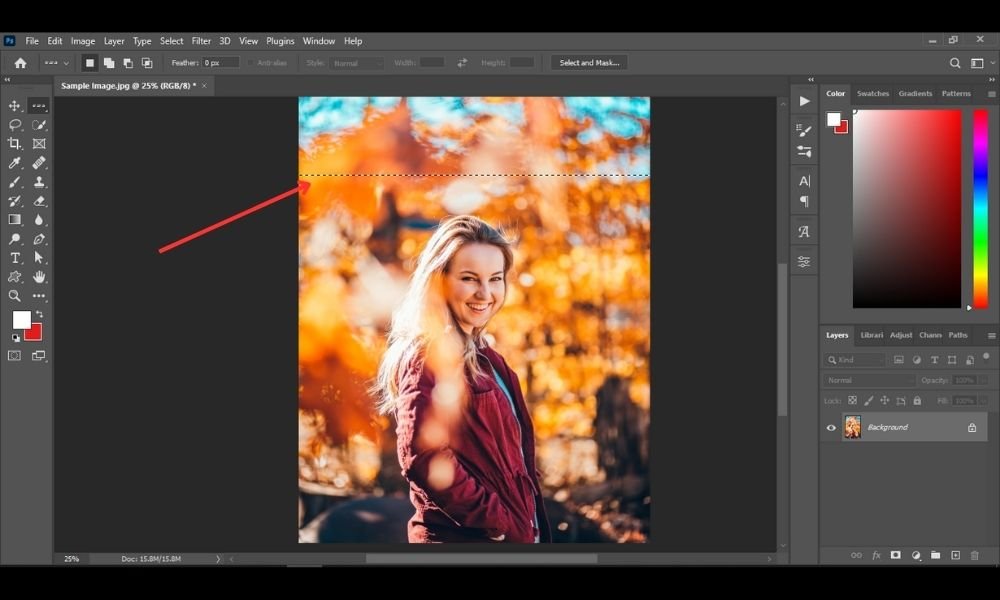
Final Notes About How To Use Marquee Tool In Photoshop CC:
In a word, the Marquee Tool is a simple way to choose or cut any part of your picture into basic shapes. It may not be the best way to select things in Photoshop.
But it’s useful to learn about how to use marquee tool in Photoshop application to fix your image errors quickly.
After reading this blog post, we hope you’ve learned the step-by-step process regarding how to use the marquee tool in Photoshop and so on.
To know more about the latest Photoshop tutorials, you can check out our blog page. Thanks for reading!